- A Pupsai account. If not, please refer to Register for Pupsai.
- You'll also need to be subscribed to Pupsai. Please refer to Subscribing to Pupsai.
- A Zapier account. If not, please refer to Sign-up for Zapier.
- A Google sheet with the following column headings:
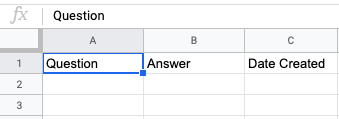
- Your spreadsheet should have three(3) column headings:
- Question
- Answer
- Date Created
- Your spreadsheet should have three(3) column headings:
-
- If you need help creating a Google Sheet, please refer to Creating the Google Sheets.
Creating a Form Response in Pupsai
- Login into your Pupsai account. Click here for reference.
- From the left navigation menu, select the "Customer Service" menu option.
- select the "Forms / Requests" menu option.
- Click the "Add New Forms / Request" button. A form will pop-up.
- Enter the requried, as demonstrated below:

- Click the "Add button".
- Click the eye icon on the form response you just created.
- Click the "ADD NEW QUESTION" button.
- Fill in the required fields of the pop up form.
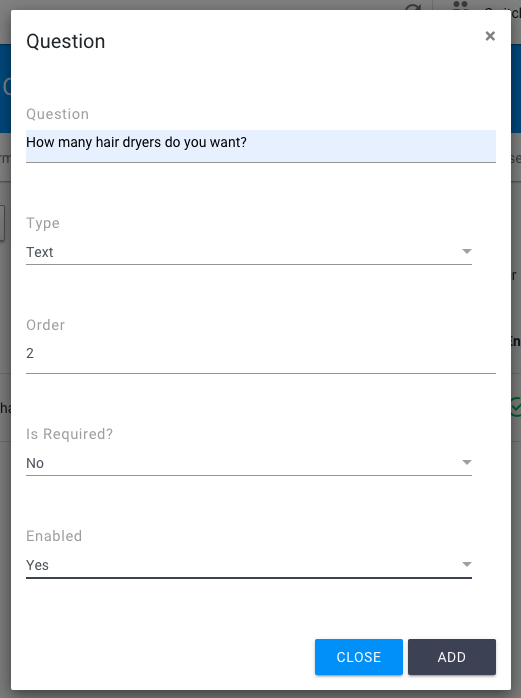
- Click the "ADD" button.
- Click the back arrow in the top left of the window.
- Select the "Test Your Questions With The Web Widget" tab.
- You'll be redirected to the widget preview page.
- Click the widget located in the bottom right of the screen.
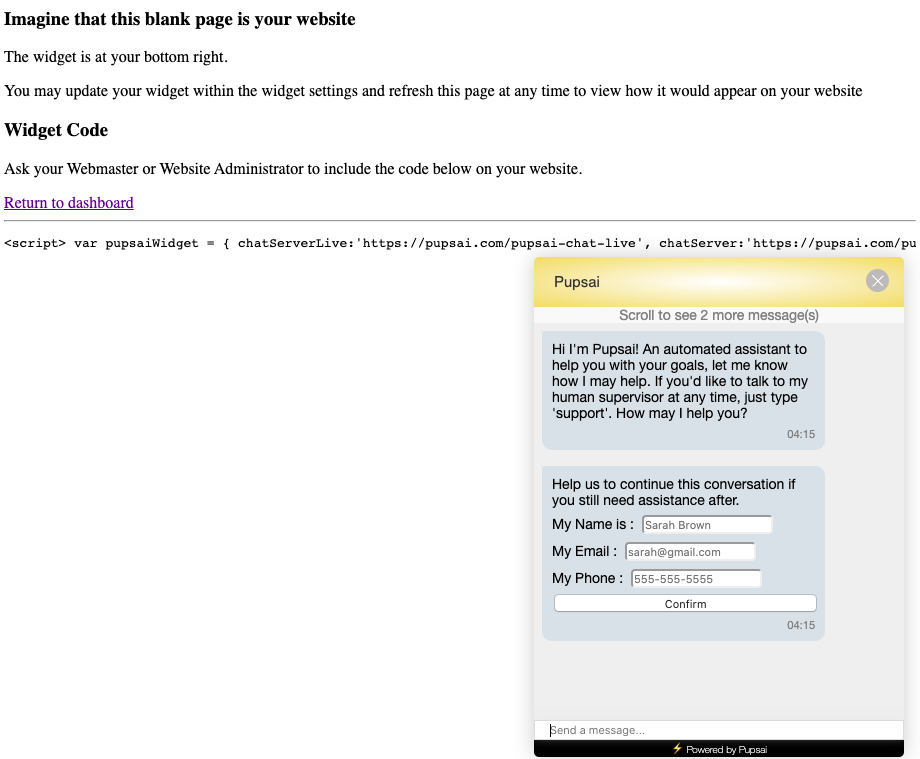
- Enter the question used to create the form response, or a question containing the keywords defined.
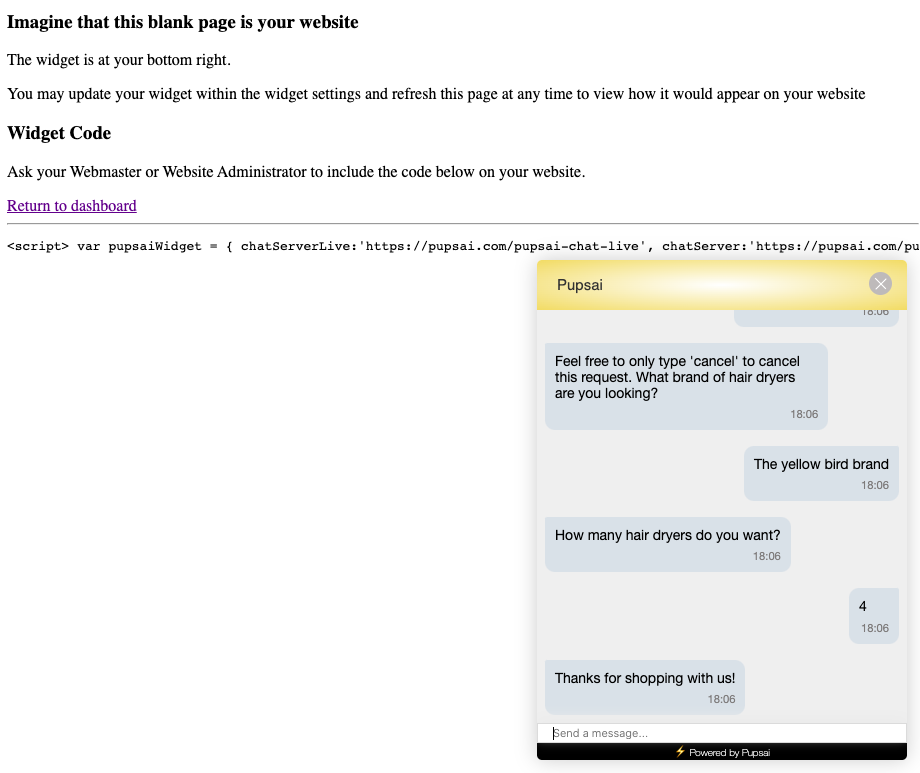
- Pupsai will ask the second question you defined.
- Give an answer to the question
Connecting Pupsai to Pull the Data
- In a new tab, login into your Zapier account. Click here for reference.
- From the left navigation menu, select the "Zaps" menu item.

- Click the "Create Zap" button. You will be redirected to a page resembling the one below:
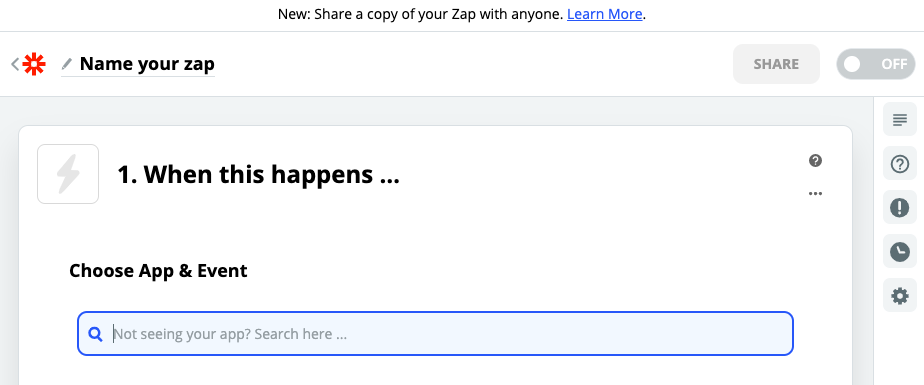
- In the top left of the window, click in the "Name your zap" section and type a meaningful name for zap.
- In the "When this happens ..." section, start typing "Pupsai" in the "Choose App & Event" search bar.
- Select the Pupsai icon when it appears on the screen.
- From the "Choose Trigger Event" drop down list, select "New Form Response".
- Click the "Continue" button.

- From the "Pupsai (1.0.0) account" drop down list, select your Pupsai account.
- If you are not seeing your account that means you are not signed into your Pupsai account. To do so, select "+ Add a New Account" from the bottom of the drop down list.
- You will be redirected to sign into your Pupsai account. Click here for help logging in.
- Once logged in, you'll be redirected to your Pupsai dasboard. Close the tab and head back to the create a new zap page.
- For a second time, select "+ Add a New Account" from the bottom of the drop down list.
- You will be redirected to Pupsai.com, where Zapier will request permission to access your account.
- Click the "Authorize" button to continue. You'll be redirect back to the create a new zap page.
- Click the "Continue" button.
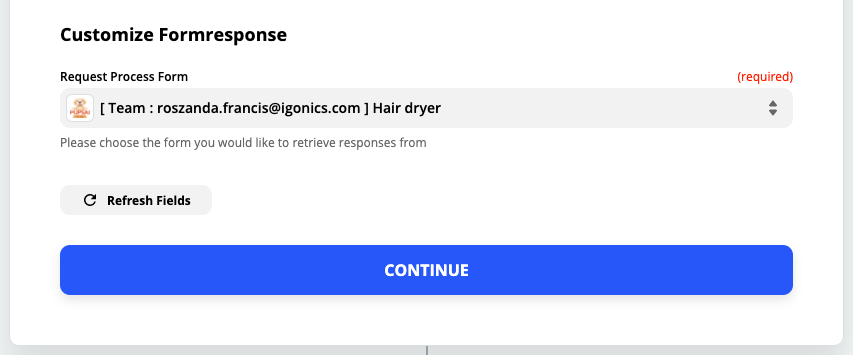
- From the "Request Process Form" drop down list, select the desired form response.
- If you are not seeing the desired response, select the "LOAD MORE" button.
- Click the "Continue" button.
- You'll be redirected to the "Find Data" section to test that your form response was created successfully pulled from your Pupsai account.
- Click the "Test trigger" button.
- If the form response was successfully pulled from your Pupsai account, you should see a "We found a formresponse!" message onscreen.
- At the bottom of the screen, you'll see a box with "Zap is ready - now turn it on!"
- Click the toggle button to turn the zap on.
- To exit, use the back arrow in the top left of the window.
Connecting Google Sheets to Save the Data
- In the "Do this ..." section, start typing "Google Sheets" in the "Choose App & Event" search bar.
- Select the Google Sheets icon when it appears on the screen.
- From the "Choose Action Event" drop down list, select "Create Spreadsheet Row".
- Click the "Continue" button.

- From the "Google Sheets account" drop down list, select the Google account you wish to use.
- If you are not seeing your account that means you are not signed into your Google account. To do so, select "+ Add a New Account" from the bottom of the drop down list.
- You will be redirected to sign into your Google account, or select one from a list of accounts and follow the instructions on screen to complete the login.
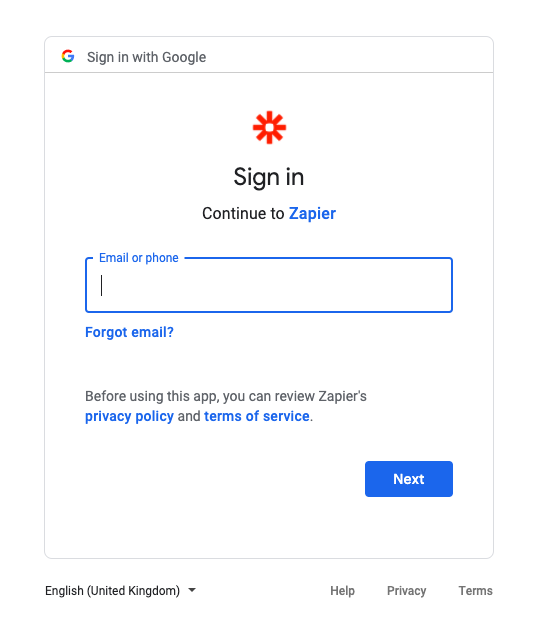
-
- Once signed in, Zapier will request permission to access your google drive.
- Click the "Allow" button to continue. You'll be redirect back to the create a new zap page.
- Click the "Continue" button.
- From the "Drive" drop down list, select "My Google Drive".
- From the "Spreadsheet" drop down list, select the name of the spreadsheet with the information.
- From the "Worksheet" drop down list, select the name of the worksheet with the information.
- From the "Question" drop down list, select the desired question + answer form response.
- If you are not seeing the desired form response details, select "Show All Options".
- From the "Answer" drop down list, select the desired question + answer form response.
- If you are not seeing the desired form response details, select "Show All Options".
- From the "Date Created" drop down list, select the response time received.
- If you are not seeing the desired form response details, select "Show All Options".
- Click the "Continue" button.
- You'll be redirected to the "Send Data" section to test that your spreadsheet was connected successfully.
- Click the "Test & Continue" button.
- If successfully connected, you should see a "Test was successful!" message onscreen.
- At the bottom of the screen, you'll see a box with "Zap is ready - now turn it on!"
- Click the toggle button to turn the zap on.
- To exit, use the back arrow in the top left of the window.
Verifying the Form Response was Saved in Google Sheets
Automatically Populating the Google Sheet
Now that the zap is activated, once a form response was triggered in your Pupsai account, Zapier will automatically update the Google Sheet
- Open the Google Sheet you used to create the zap.
- You should see the information on the sheet.
Automatically Populating the Google Sheet
Now that the zap is activated, once a form response was triggered in your Pupsai account, Zapier will automatically update the Google Sheet