To get started:
- Ensure you are logged in to your Pupsai account. For help logging in, refer to Login to Pupsai.
- Ensure you have subscribed to Pupsai. If you have not done so and need help subscribing, refer to Subscribing To Pupsai.
- You should be an admin of the platform accounts you are adding, and ensure that you have the right credentials (usernames, passwords etc).
- You will be redirected to the platforms to enter your credentials, as such, we encourage you to either temporarily disable pop-ups and ad-blockers, or allow Pupsai to show you popups.
Adding A Channel for Facebook
From your dashboard:
- In the navigation bar to the left of the page, select the "Customer Service" menu option
- From the drop down menu, select "Channels"
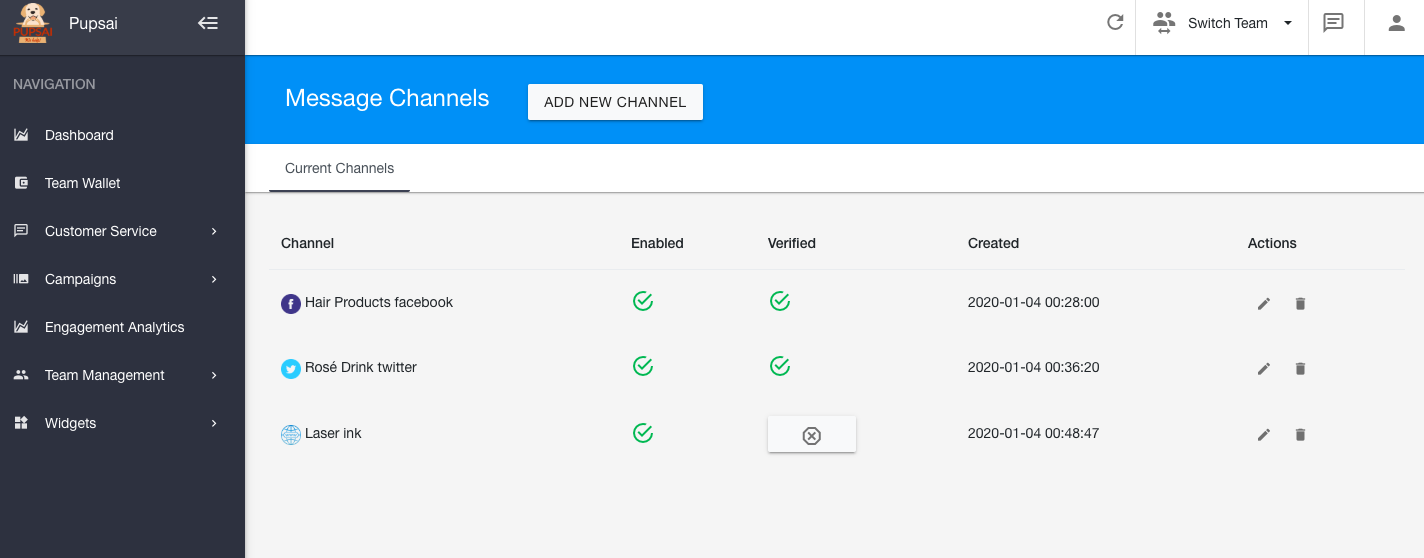
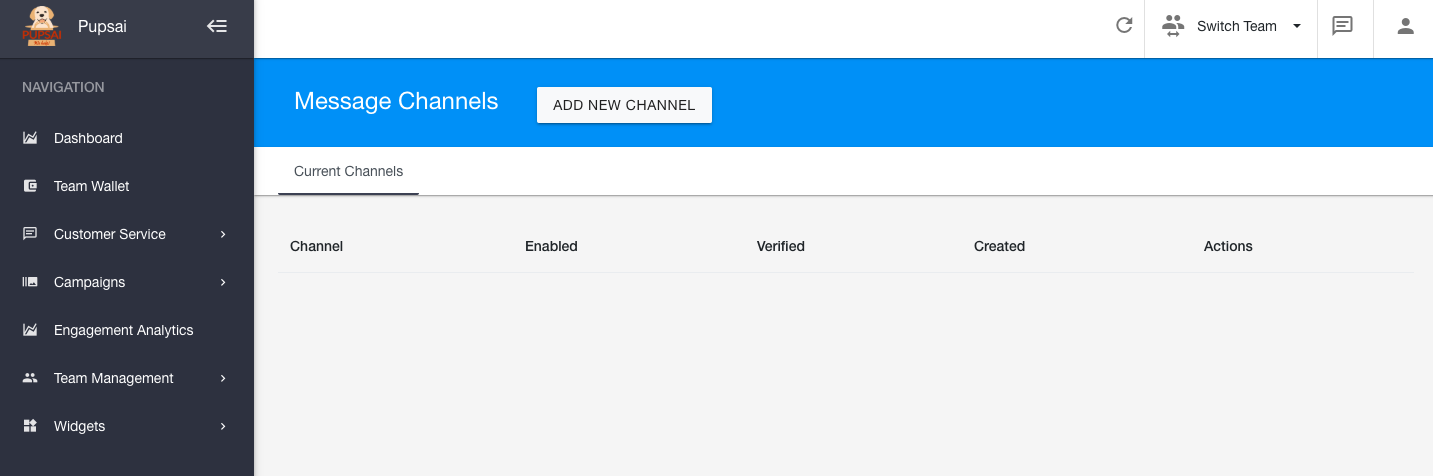
- You'll be redirected to the "Message Channels" page
- Click the "Add New Channel" button
- Scroll down to "Platform"
- Select "Facebook" from the drop down menu
- Click the "Continue with Facebook" button
- You will be redirected to enter your credentials
- Login to your account, then select the page(s) you wish to use and select "Next"
- In the next step, you will determine what Pupsai can do with the Pages you selected
- On the "Authorizing Facebook" Click the name of your Facebook page.
- Once the "successfully subscribed" message is seen, close the page and return to Pupsai
Adding A Channel for Twitter
From your dashboard:
- In the navigation bar to the left of the page, select the "Customer Service" menu option
- From the drop down menu, select "Channels"
- You'll be redirected to the "Message Channels" page
- Click the "Add New Channel" button
- Scroll down to "Platform"
- Select "Twitter" from the drop down menu
- Click the "Authorize Using Your Twitter Account" button
- You will be redirected to enter your credentials
- Login to your account, then select the page(s) you wish to use
- Once the "Added new twitter Message Channel" message is seen, close the page and return to Pupsai
Adding A Channel for Your Website(s)
Before you begin, please ensure that you create a page on your website, so that your website may be verified.
From your dashboard:
- In the navigation bar to the left of the page, select the "Customer Service" menu option
- From the drop down menu, select "Channels"
- You'll be redirected to the "Message Channels" page
- Click the "Add New Channel" button
- Enter the desired name for the Channel
- Scroll down to "Website Configuration"
- Enter your website URL and the verification code
- Click "Add"
Once you have added the channel(s), you will be able to:
- See a list of your channels
- Edit your channels
- Delete your channels